ServicesSurface Prep and Sanding
Surface Preparation and Sanding in Kearny
Most paint failures start under the paint. We sand ridges and patches flat, seal torn drywall paper, skim rough spots and prime bare compound, so your walls take a finish evenly and you are not redoing the same room in two years.
What prep work actually fixes
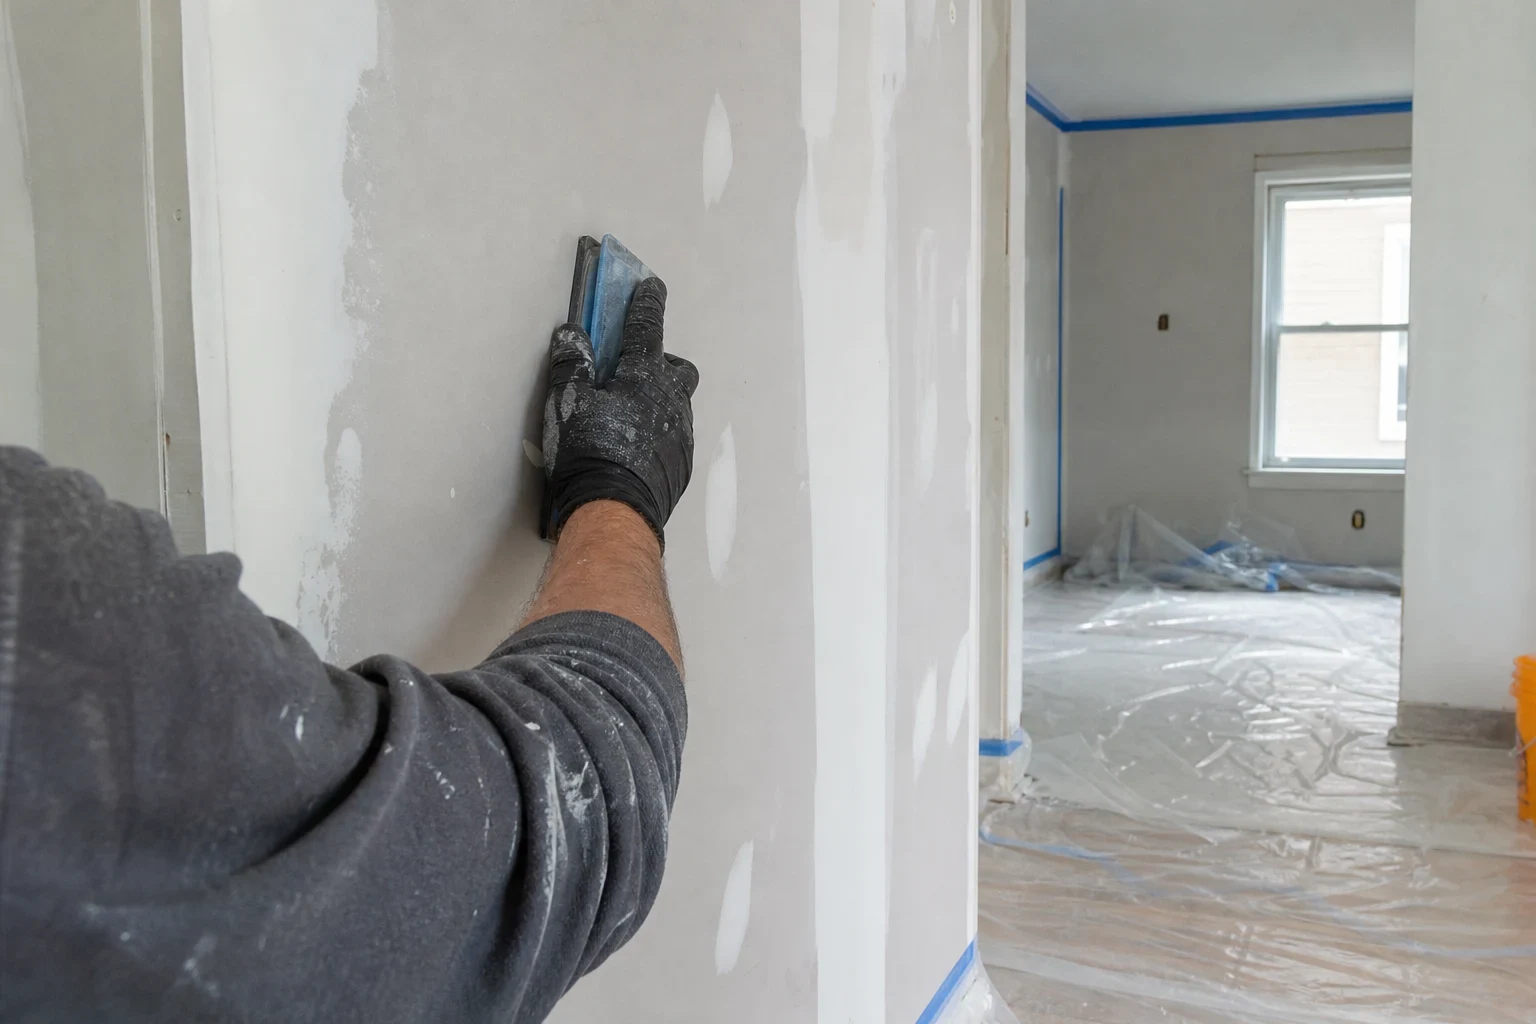
Surface preparation is everything that happens between a finished drywall repair and the first coat of paint. That means sanding joint compound to a flat plane, filling pinholes and scratches, removing gloss from old enamel so new coats bond, and sealing any surface that would otherwise soak up paint unevenly.
It is the right call when walls look fine bare but show every flaw once painted, when a previous patch still shows through, or when old paint is peeling, glossy or stained. A properly prepped wall costs more up front than a quick scuff and roll. It also tends to need fewer touch-ups and holds its color longer, which is where the money comes back.
In older homes around Kearny and Harrison, we often find layers of old paint over plaster or early drywall. Those layers need more care than new board, and we tell you what we see before we start.
What our prep and sanding covers
- Sanding compound flat
- We sand seams, corner beads and patches with 120 to 150 grit screens and sponges, checking the surface with a raking light. Ridges and crowned joints that look fine overhead show up clearly once light skims across the wall.
- Sealing torn paper face
- When drywall paper tears from old tape, wallpaper or anchors, water-based compound makes it bubble. We seal the exposed brown paper with a shellac or oil-based primer first, then skim over it.
- Skim coating rough areas
- Thin coats of lightweight compound fill scratches, pitting and old roller texture. Each coat is sanded before the next, so the wall ends flat instead of wavy.
- Deglossing old enamel
- Glossy oil or high-sheen latex paint gives new coats nothing to grip. We scuff-sand it and clean the dust off so the next layer bonds instead of peeling in sheets.
- Priming bare compound
- Fresh compound absorbs paint differently than the paper around it, which causes dull spots called flashing. A drywall primer evens out that porosity before any color goes on.
- Dust control and cleanup
- We mask doorways and vents, cover floors and furniture, and use vacuum-attached sanders where the job allows. You get a clean work area at the end of each day.
Signs your walls need prep before paint
Patches that show through
An old repair shows up as a raised square or a dull halo under paint. The compound was never feathered wide enough or never primed.
Bubbles in fresh compound
Small blisters forming as compound dries mean torn paper underneath is soaking up water. Skimming over it again only repeats the problem.
Paint peeling in strips
Paint that lifts with tape usually went over gloss, dust or wallpaper paste. The fix is removing the loose layer and preparing what is under it.
Visible seams in side light
If you can see tape lines when sun comes through a window, the joints are crowned or the compound is uneven. Sanding and a skim coat bring them flat.
Glue residue after wallpaper
Leftover paste reactivates under water-based products and can crack the finish. It has to be washed off and sealed first.
What moves the cost of prep work
Prep is priced by how much work each wall needs, not by a flat room rate. Two rooms of the same size can differ a lot depending on what is under the old paint. We explain the line items when you get your quote by phone and adjust once we see the walls.
Condition of the surface
Light sanding over sound paint is quick. Torn paper, peeling layers or wallpaper residue add sealing and skim coats, each with drying time.
Square footage and height
Larger rooms and stairwells take more material and time. Tall walls and ceilings need staging or ladders, which slows the work.
Level of finish wanted
Flat paint in a dim hallway hides more than eggshell on a wall facing a window. A higher-sheen or critical-light finish needs a full skim to look right.
Furnished or empty rooms
Empty rooms prep faster. Rooms full of furniture need more moving and covering to keep dust off your things.
How a prep day runs
- 1
Walk the walls with a light
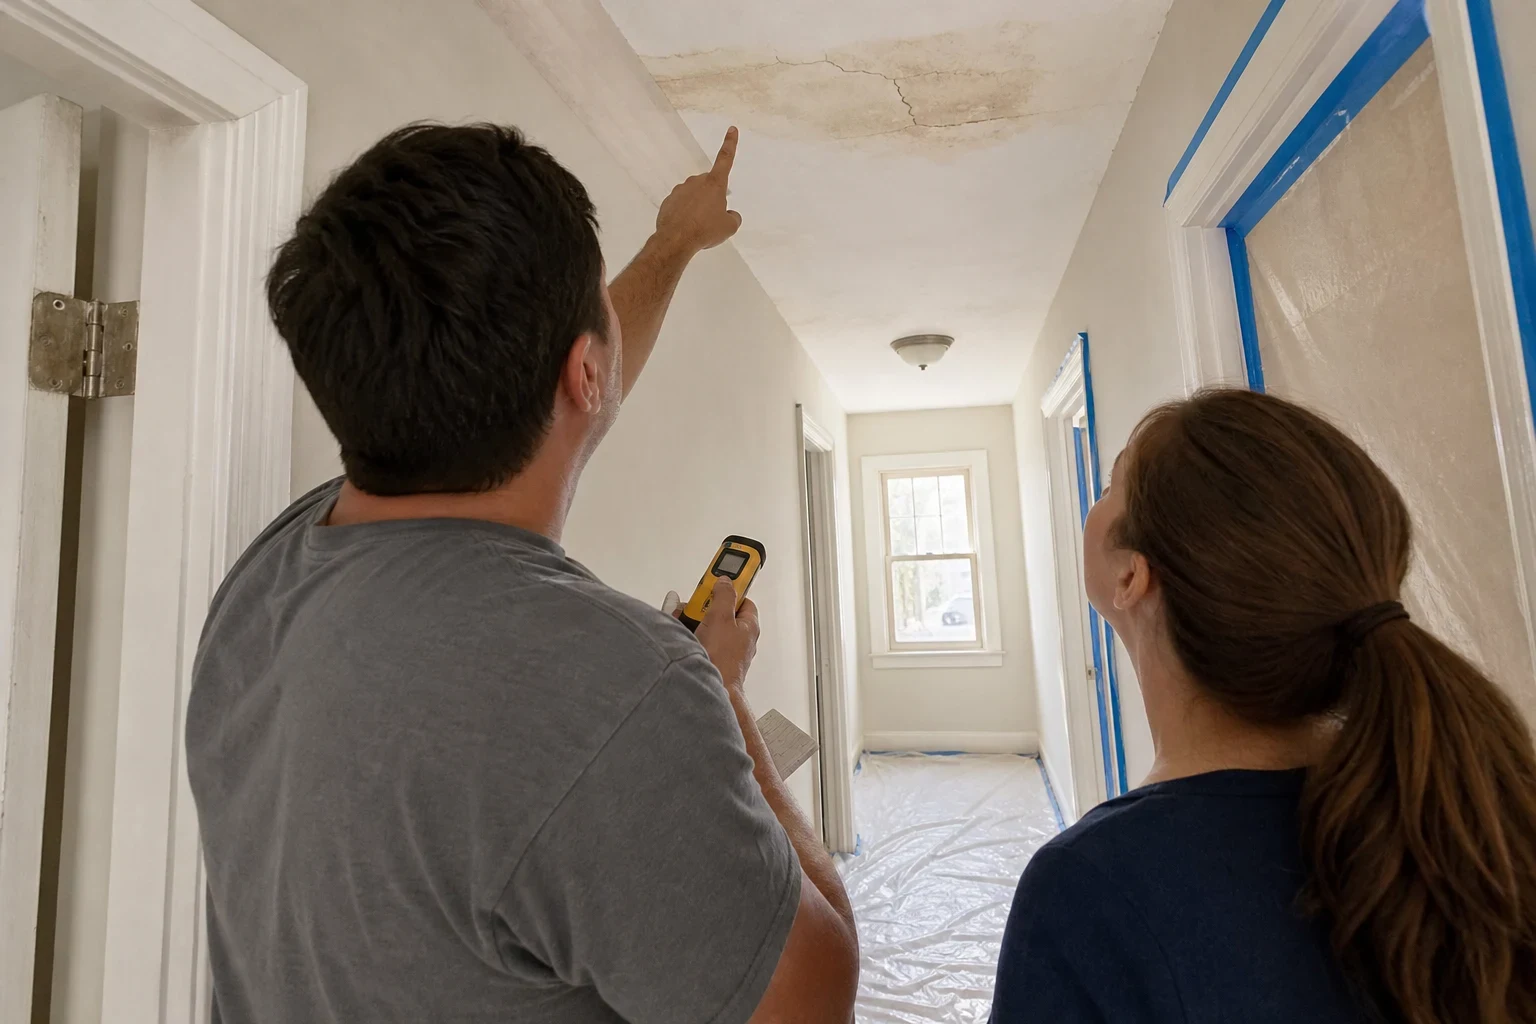
We look at each surface under a work light held flat to the wall and mark ridges, dents and torn paper. You see what we found and what we recommend fixing versus leaving.
- 2
Protect the room
Floors get covered, furniture is moved or wrapped, and doorways and returns are masked so dust stays in the work area.
- 3
Repair, skim and sand
We seal damaged paper, apply compound in thin coats and sand between them. Setting-type compound is used where a faster cure helps the schedule.
- 4
Prime and inspect
Bare compound and patched areas get primer, then we check again under the light. Anything that still shows is corrected before we call it done.
- 5
Clean up and hand off
We vacuum surfaces and floors, remove masking and leave the walls ready for paint. If you only need small areas colored in, we can do paint touch-ups as a separate service.
Questions about surface preparation and sanding
Can't I just paint over the old patches?
You can, but unprimed compound absorbs paint differently and usually shows as a dull spot. Raised edges also catch light once there is sheen on the wall. Sanding and priming first costs a little more now and saves repainting the wall later.
How much dust will sanding make in my home?
Sanding compound does create fine dust. We contain it with masking and floor covers and use vacuum-attached sanders where we can. Most of the cleanup happens before we leave each day.
What is a skim coat, and do I need one?
A skim coat is a thin layer of compound spread over the whole wall to fill scratches, texture and pitting. You need one when spot repairs would leave the wall patchy. We will tell you if spot work is enough.
Do you prep plaster walls too?
Yes. Older plaster often has hairline cracks and many paint layers. We check for loose areas and prep the surface so new paint bonds; if a section needs real wall repair, we will say so before starting.
How long before the walls are ready for paint?
Small areas can be ready the same visit with setting-type compound. Full skim coats need drying time between coats, so plan on more than one day. We give you a realistic schedule up front.
Get walls that are ready for the next coat
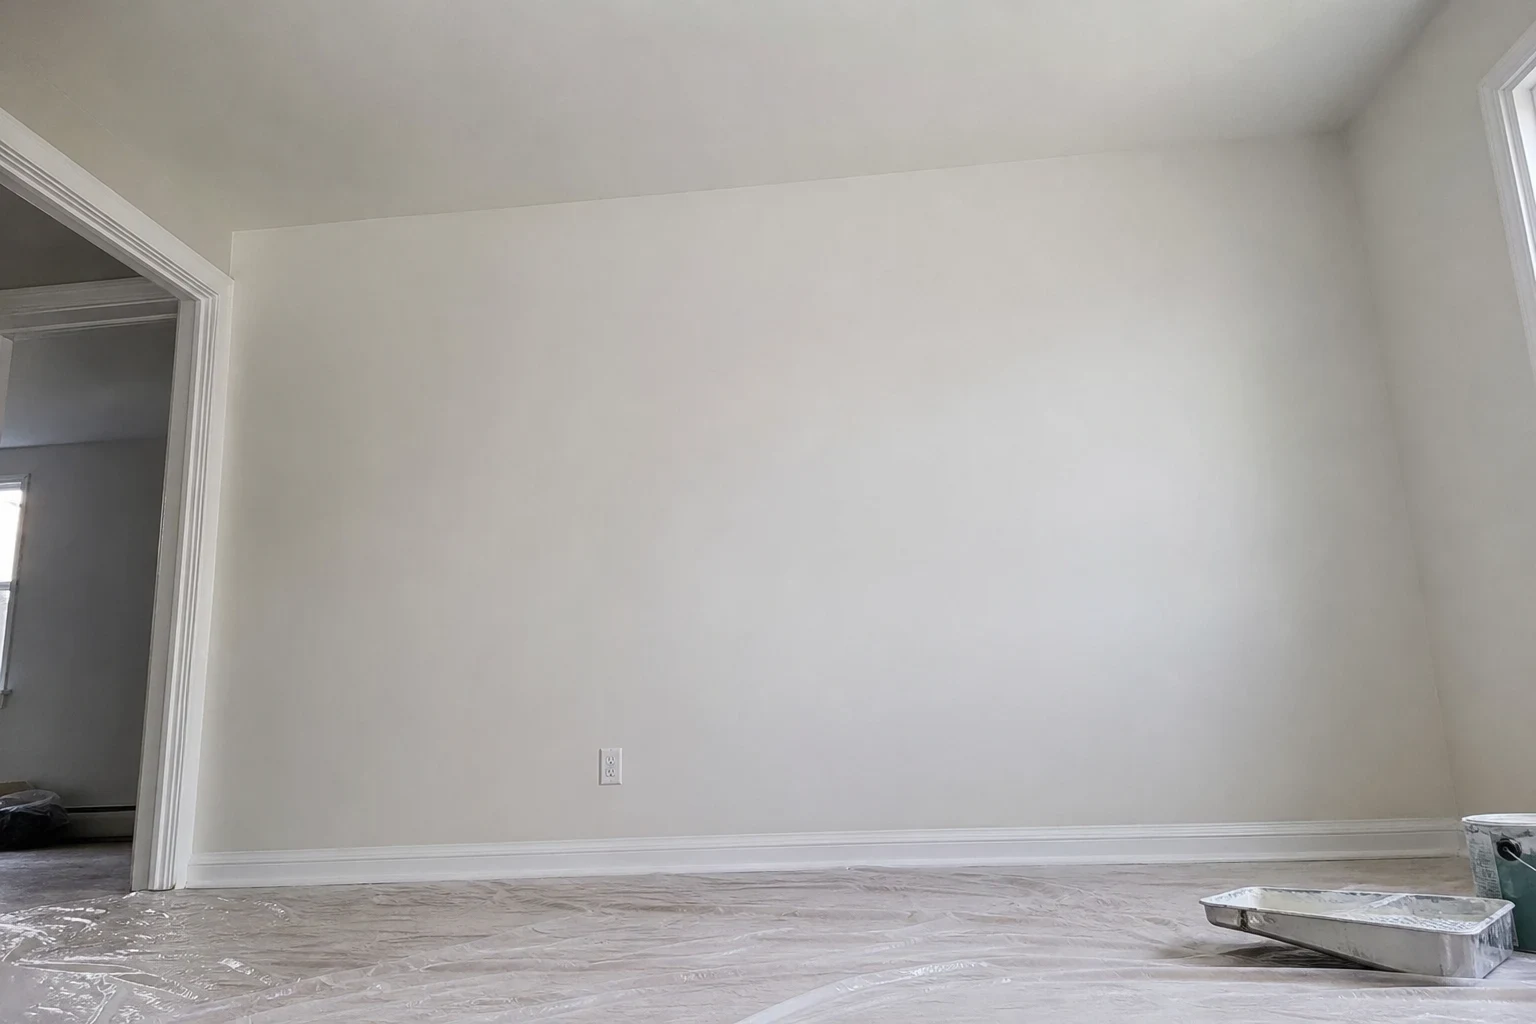
Tell us what the walls look like now and what finish you want. We will walk through what the prep involves and how long it should hold up.