ServicesDrywall Finishing
Drywall Finishing in Kearny
We tape, coat and sand drywall to a defined finish level so joints, screws and corner bead disappear under paint. We use setting compound and paper tape where they hold up best, and we tell you which finish level your room needs before any work starts.
What Drywall Finishing Covers
Hanging the board is half the job. Finishing is everything after: embedding tape in the joints, building up and feathering compound over seams and fasteners, setting corner bead, then sanding and priming so the surface reads as one flat plane. Most of what you notice on a wall years later, like a visible seam, a cracked inside corner or a row of popped screws, traces back to how it was finished.
The industry grades finishes from Level 0 to Level 5. Level 4 suits most walls under flat or eggshell paint. Level 5 adds a thin skim coat over the entire surface and is the right call for glossy paint, long hallways or walls hit by low-angle window light. It costs more up front, but it is cheaper than repainting a wall that shows every joint once the sun comes around.
We finish new board after drywall hanging, and we finish the larger areas left after drywall repair or wall repair work.
What's Included in the Work
Paper tape bedded in setting compound
On flat joints and inside corners we bed paper tape in a setting-type compound. It cures by chemical reaction rather than drying, so it shrinks less and bonds harder than premixed mud. Mesh tape has its place on patches, but paper resists cracking better on long seams.
Corner bead set straight and true
Outside corners get metal or paper-faced bead, checked for plumb and fastened or bedded so it will not loosen when a vacuum or furniture bumps it. Paper-faced bead takes paint without the edge cracking that nailed metal bead sometimes shows.
Feathered fill and finish coats
Each joint gets wider, thinner coats with a lighter topping compound so the build-up tapers out over 10 to 14 inches. That wide feather is what keeps a seam from showing as a ridge under raking light.
Fastener spotting
Every screw head is coated two or three times until it sits flush. Under-spotted screws are the most common reason a freshly painted wall looks dimpled.
Sanding with dust control
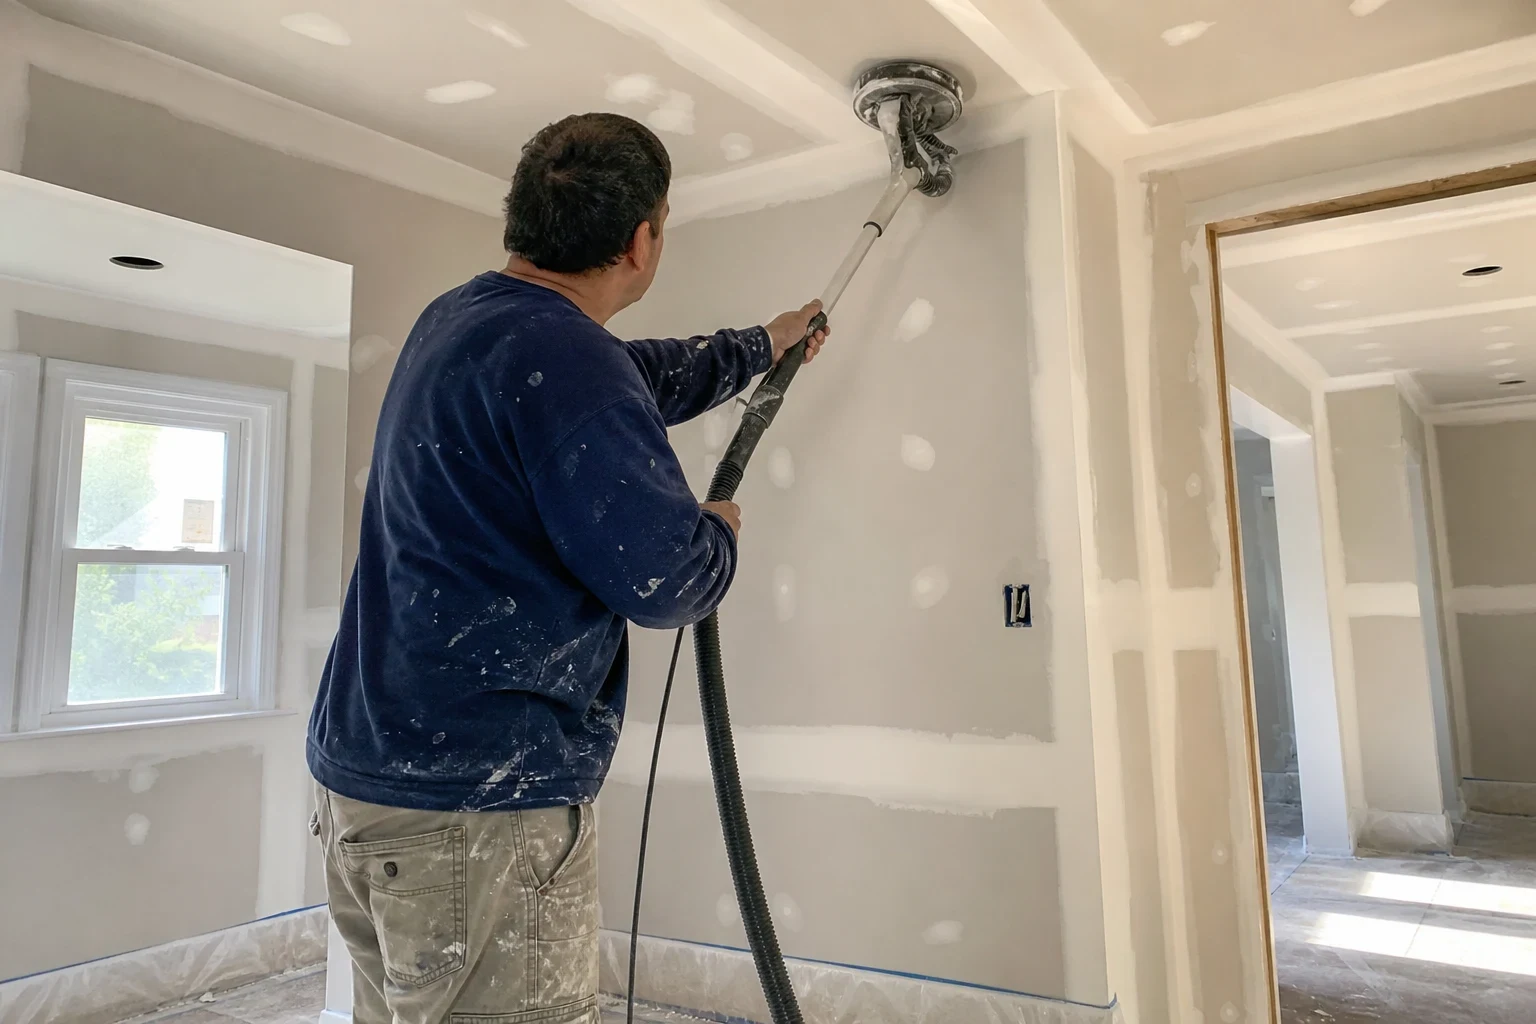
We sand with fine-grit screens and sponges, checking each joint with a work light held flat to the wall. Floors are covered and the room is sealed off to keep the work area clean. Our surface preparation and sanding page explains this step in more detail.
Primer-ready surface
Paper face and joint compound absorb paint differently, which causes flashing. We leave the surface ready for a drywall primer so your topcoat looks even.
Signs Your Walls Need Finishing Work
- Seams visible after painting
- If you can trace taped joints across a wall in the afternoon light, the joints were not feathered wide enough or the finish level was too low for the paint sheen.
- Cracks along inside corners
- Hairline cracks in corners or at the wall-ceiling line usually mean the tape was under-bedded or premixed mud was used where setting compound belonged. Seasonal swings between heated, dry winter air and humid summers in North Jersey make weak joints open up.
- Tape bubbling or peeling
- Blistered tape means there was too little compound under it to form a bond. It has to be cut out and re-bedded, not painted over.
- Rows of popped screws
- Small round bumps in a line usually come from framing shrinkage or screws driven too deep or too shallow. We reset the fasteners and refinish the spots.
- New board left half-finished
- A job stalled after taping, or a basement that someone hung but never coated, needs proper fill coats and sanding before it can take paint.
How a Finishing Job Runs
- 1
Look at the board and the light
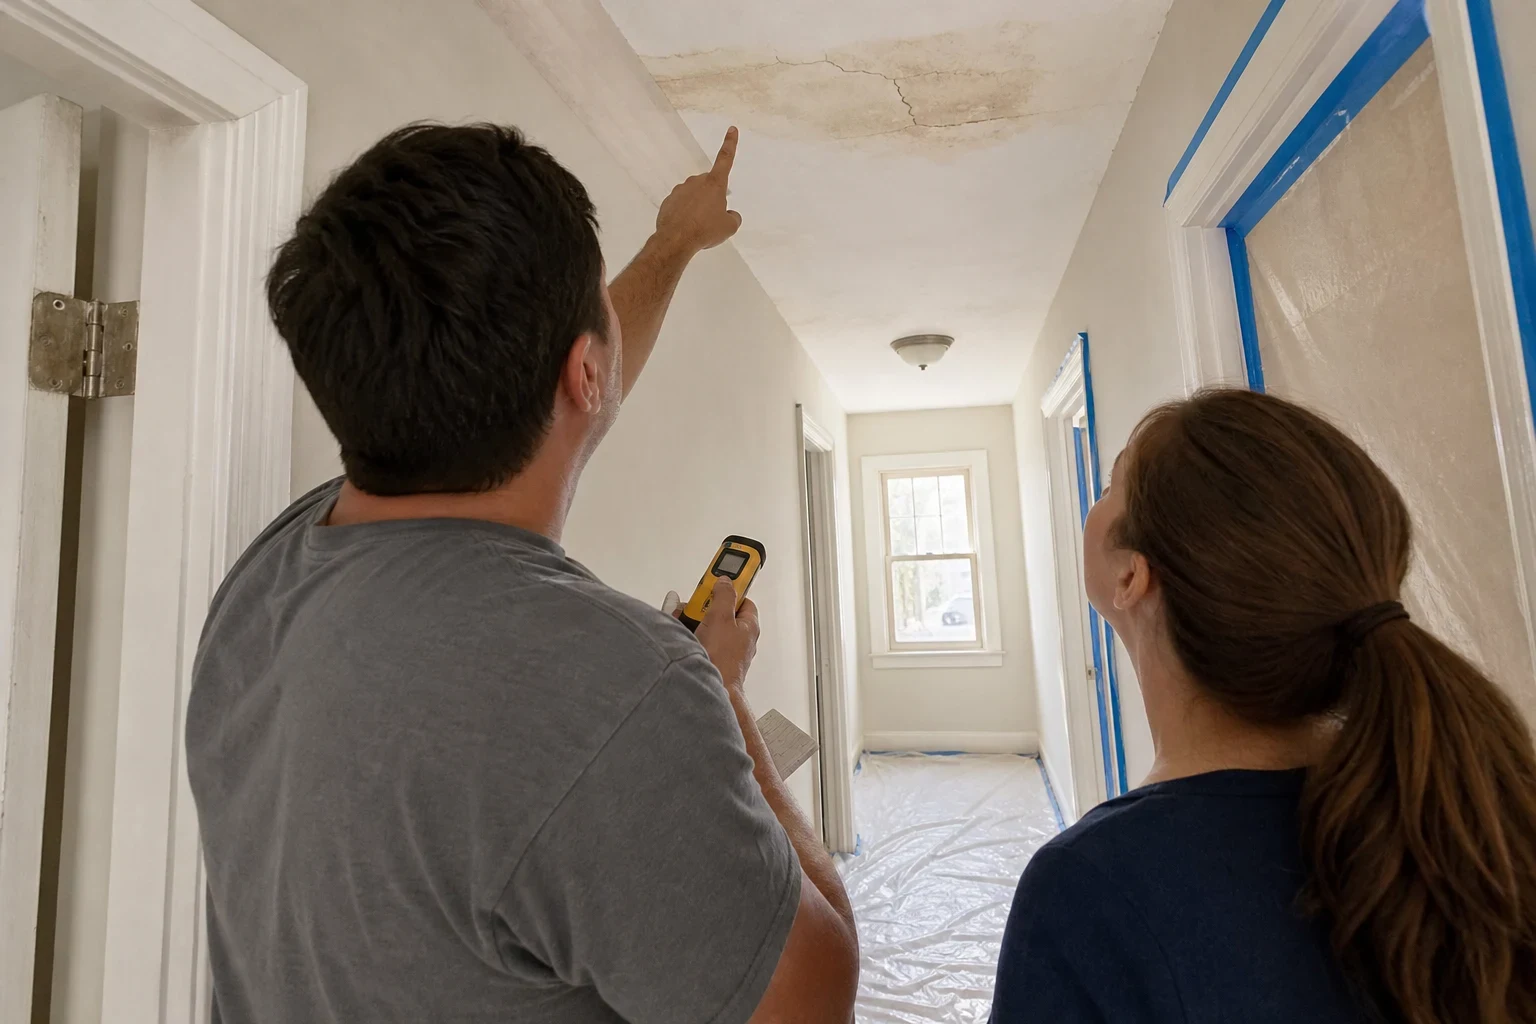
We check fastener spacing, gaps at the joints and any damaged paper face, then note where windows and fixtures throw light across the wall. That decides whether Level 4 is enough or Level 5 will save you from repainting later.
- 2
Prep and protect
We lay floor protection, mask outlets and trim, and fill wide gaps with setting compound before any tape goes on, so the tape is not bridging a void.
- 3
Tape and coat over several visits
Tape and corner bead go on first, followed by a fill coat and a finish coat. Each coat has to cure before the next, so most rooms take several short visits over a few days, not one long one.
- 4
Sand, inspect and clean up
We sand, check every joint under a raking light, touch up any low spots, then vacuum and remove all debris. You get a surface ready for primer. If it is a small area on a painted wall, our paint touch-ups service can blend it in.
What Moves the Price of Drywall Finishing
Finishing is priced mostly by labor and the number of coats, not materials. We walk you through what applies to your room and explain where spending a bit more now, like a skim coat or paper-faced bead, avoids redoing the wall later.
- Finish level
- Level 5 adds a full skim coat and another round of sanding. It is worth it under semi-gloss paint or strong side light and usually unnecessary in a closet or a garage.
- Square footage and joint count
- More seams, butt joints and corners mean more taping and more coats. Butt joints, where two untapered board ends meet, take extra care to feather flat.
- Ceilings and height
- Ceiling joints are slower to coat and sand, and tall walls or stairwells need staging. Our ceiling repair page covers overhead work.
- Condition of the hang
- Wide gaps, overdriven screws or torn paper face have to be corrected before finishing starts. A clean hang finishes faster.
Drywall Finishing Questions
- How long does drywall finishing take?
- Most single rooms take several days from tape to final sanding because each coat needs to cure. Setting compound speeds up the first coats, but the topping coats still need drying time. We set the visit schedule with you on the first day.
- Do I really need a Level 5 finish?
- Not always. If you plan flat or matte paint and the wall does not catch light from the side, Level 4 performs well for years. Glossier sheens and walls beside large windows show every joint, and that is where the skim coat earns back its cost.
- Can you finish drywall someone else hung?
- Yes. We inspect the hang first, fix gaps and bad fasteners, and tell you plainly about anything that would show through the finish if it were left as is.
- Why did my previous finish crack within a year?
- The usual causes are mesh tape on long seams, premixed mud used for bedding, or joints that were too thin over gaps. Seasonal humidity changes then pull the joint open. We rebed with paper tape and setting compound so the repair holds.
- Will there be a lot of dust in my home?
- Sanding drywall always makes fine dust, but we keep it contained. We cover floors, close off the room, sand by hand with fine screens and vacuum when we finish.
Get Walls That Stay Smooth
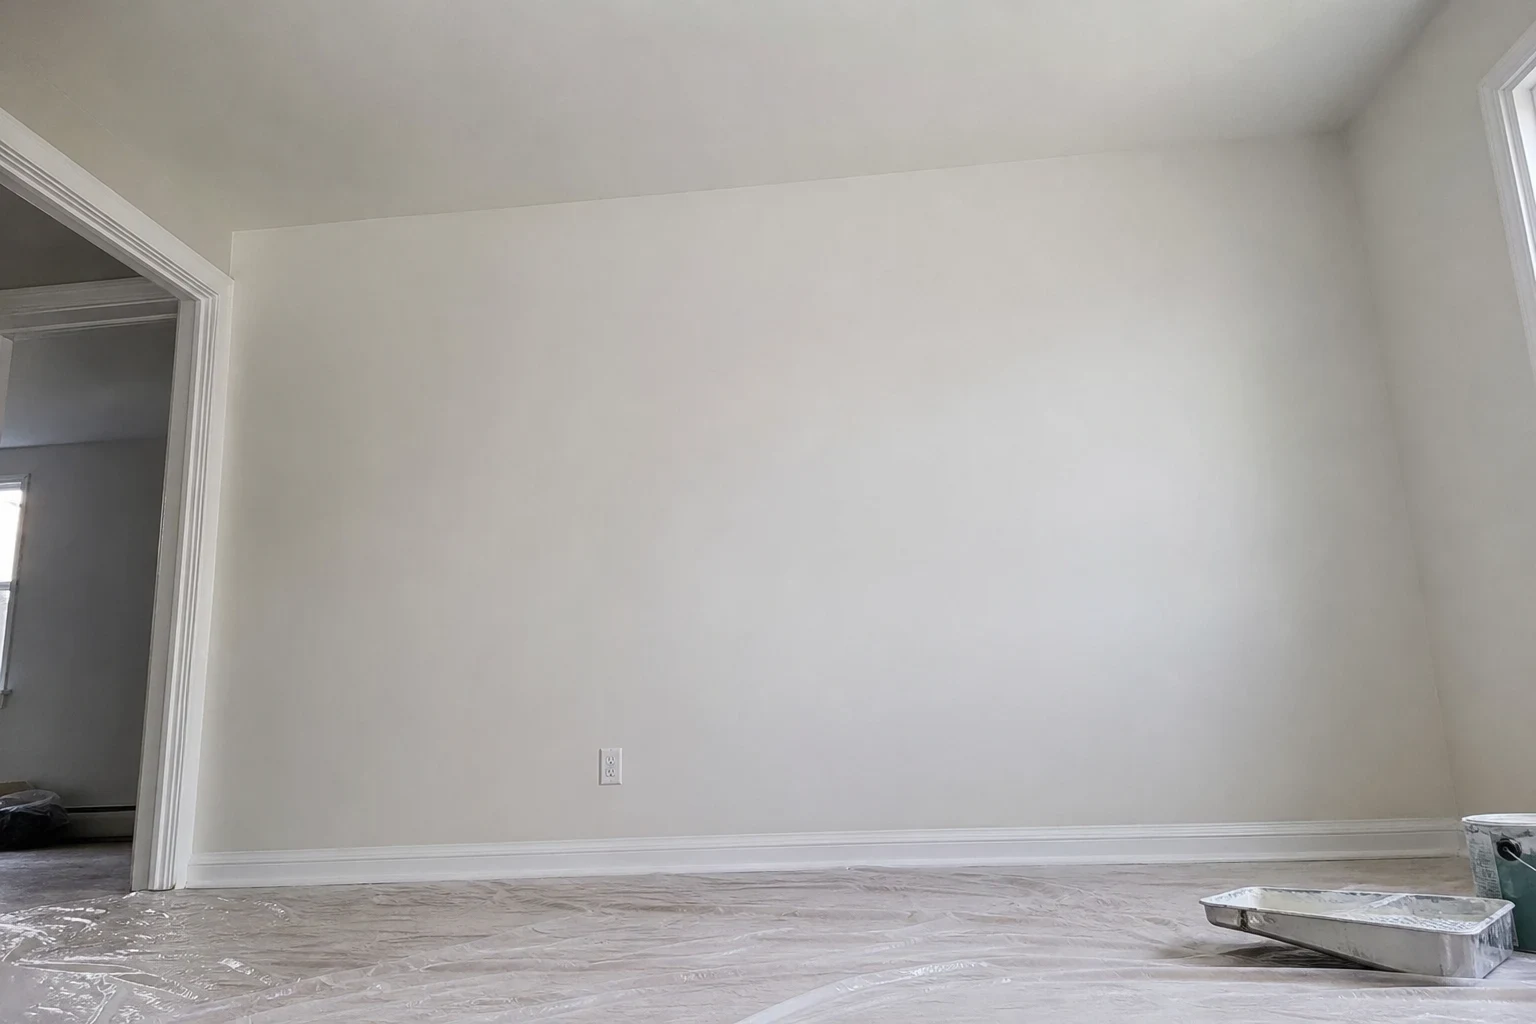
Tell us about the room, the board and the paint you plan to use. We will recommend a finish level and explain what it costs and how long it lasts.